Introduction: Mounting a TV Cabinet Looks Simple… Until It Isn’t
TV cabinet wall mounting has exploded in Australia — a stylish trend that blends modern minimalism with space-saving practicality.
But here’s the truth: a lot can go wrong if you don’t know what you’re doing.
From cracked walls to leaning cabinets to unsafe mounts, even small mistakes can turn a beautiful setup into a headache (or a hazard).
To help homeowners, renters, and even DIY lovers, here are the most common TV cabinet wall mounting mistakes Australians keep making — and how to avoid them like a pro.
1. Mounting the Cabinet on the Wrong Wall Type
One of the biggest errors Aussies make is ignoring wall type. Not all walls can safely hold a floating TV cabinet.
Common problematic walls:
- Thin plasterboard with no studs
- Weak metal stud walls
- Old brick walls with cracks
- Hebel walls without reinforcement
Mounting heavy cabinets onto these walls without the correct hardware is an accident waiting to happen.
What you should do instead?
✔ Use stud finders
✔ Hire a professional for tricky walls
✔ Reinforce weak walls
✔ Use appropriate anchors (like toggle bolts for metal studs)
Never assume your wall can handle the load.
2. Incorrect Height Placement
Mounting too high or too low ruins both aesthetics and usability.
Common mistakes:
❌ Mounting the cabinet too close to the floor
❌ Installing it too high so the TV floats awkwardly
❌ Misaligning cabinet height with TV placement
❌ Not planning for furniture placement below
Improper height also affects cable flow and equipment ventilation.
Pro tip:
Most Australian installers recommend:
Mount the cabinet 30–45 cm above floor level
This height creates the perfect floating effect.
3. Poor Stud Detection (The #1 Australian DIY Failure)
Aussies often assume a screw or anchor will hold anything.
But with floating cabinets weighing 15–40 kg, stud-level support is essential.
Issues caused by poor stud detection:
- Loose cabinets
- Wobbly shelves
- Wall damage
- Safety hazards
- Complete cabinet collapse
Prevention:
✔ Use a high-quality stud finder
✔ Always mount into solid timber studs
✔ Reinforce with a mounting board if studs aren’t centered
Never rely on plasterboard alone.
4. Using Cheap or Incorrect Hardware
This is one of the most dangerous mistakes.
Cheap brackets and screws can’t support the cabinet’s weight, especially with electronics stored inside.
Signs you’re using the wrong hardware:
- Loose brackets
- Screws pulling out
- Gaps between wall and cabinet
- Sagging over time
Always choose:
✔ Heavy-duty wall anchors
✔ Weight-rated brackets
✔ Reinforced mounting rails
A floating cabinet is only as strong as its hardware.
5. Not Accounting for Cable Management
Nothing ruins a beautiful floating cabinet look faster than messy wires dangling everywhere.
Common cable mistakes:
❌ No plan for cable length
❌ No cutouts for device wires
❌ Power point placed too far or too low
❌ Forgetting WiFi router cable access
❌ Trying to hide too many cables inside a tight space
Smart cable solutions include:
✔ In-wall cable concealment
✔ External conduits
✔ Rear cabinet cable slots
✔ Power point installed behind cabinet
✔ Hidden device compartments
A floating setup MUST have clean wires — non-negotiable.
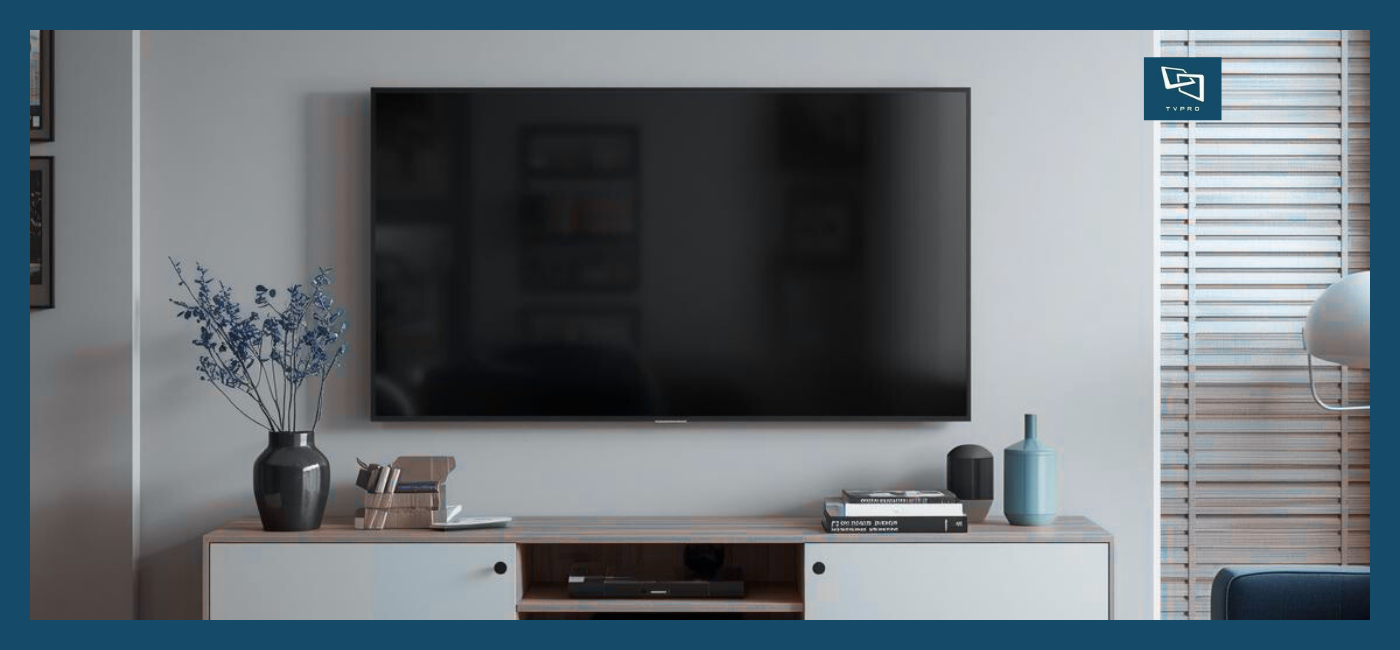
6. Choosing the Wrong Cabinet Size
Many homeowners mount cabinets that are either:
- Too long
- Too small
- Too deep
- Too shallow
- Too high-profile
This throws off the whole wall aesthetic.
Ideal sizing tips:
✔ Cabinet should be wider than the TV
✔ Depth should be slim (20–35 cm)
✔ Leave room for wall airflow
✔ Match cabinet width to TV size (rule of thirds works beautifully)
Balance is everything.
7. Ignoring Ventilation for Devices
Floating cabinets often house:
- PlayStations
- Set-top boxes
- Routers
- Sound systems
- Modems
Electronics create heat.
Poor ventilation = overheating + hardware failure.
Avoid this mistake by:
✔ Adding vent cutouts at the back
✔ Leaving gaps for airflow
✔ Avoiding sealed units for gaming devices
✔ Using open shelving for hot-running equipment
Good airflow = longer device lifespan.
8. Mounting the Cabinet Without Checking Load Capacity
Many DIYers assume any cabinet can handle any load.
Wrong.
Common load mistakes:
- Overstuffing the cabinet
- Mounting heavy devices (like amplifiers)
- Using brackets that can’t support the weight
- Ignoring manufacturer weight ratings
Safe practice:
✔ Check weight capacity of bracket
✔ Check cabinet weight + device weight
✔ Add a safety buffer of 20–30%
If your cabinet weighs 20 kg, use hardware rated for at least 30–35 kg.
9. Forgetting Alignment With the TV
This mistake is shockingly common.
People mount their cabinet first…
…then hang the TV separately…
…and the result?
Crooked alignment. Off-centred layout. Uneven spacing.
It destroys the visual harmony of the wall.
Australian interior alignment rules:
✔ Centre the cabinet horizontally to the TV
✔ Maintain equal spacing on both sides
✔ Apply the “one-third rule” for visual proportion
✔ Ensure the cabinet is perfectly level
If the TV is already mounted, measure alignment before drilling cabinet holes.
10. DIY Installation Without Proper Tools
Floating cabinets require:
- Precision
- Level checking
- Stud locating
- Heavy lifting
- Hardware compatibility knowledge
- Cable routing skills
- Safe drilling technique
A simple mistake can cost hundreds in repairs.
Tools DIYers often lack:
- Laser level
- Stud finder
- Masonry drill bits
- Wall scanners
- Cable routing tools
- Heavy-duty anchors
This is why most Australians leave TV cabinet mounting to professionals.
Conclusion: A Beautiful Floating Cabinet Starts With Avoiding These Mistakes
Wall mounting a TV cabinet is one of the smartest ways to modernise your living room… if you do it right.
Avoiding these mistakes saves you from:
- Safety risks
- Crooked cabinets
- Wall damage
- Costly repairs
- Frustrating DIY failures
A properly mounted cabinet looks premium, lasts longer, and elevates the elegance of your entire entertainment setup.
If you want a flawless, designer-level floating TV cabinet, the smartest move is to book a professional installation — they know the walls, tools, hardware, and techniques needed for a perfect finish.