Ever walked into a home and immediately noticed a crooked frame?
A slightly tilted mirror?
A shelf that looks “just a bit off”?
In Australian homes, perfect alignment is the difference between cheap DIY vibes and a polished, designer-level finish.
Professionals don’t eyeball. They don’t guess. And they don’t “hope it looks straight.” Successful wall hanging requires precision and planning.
They use systems, tools, and techniques that guarantee perfect alignment every single time — whether it’s a picture frame, a mirror, a floating shelf, or an entire gallery wall.
Here’s exactly how the experts get that flawless result.
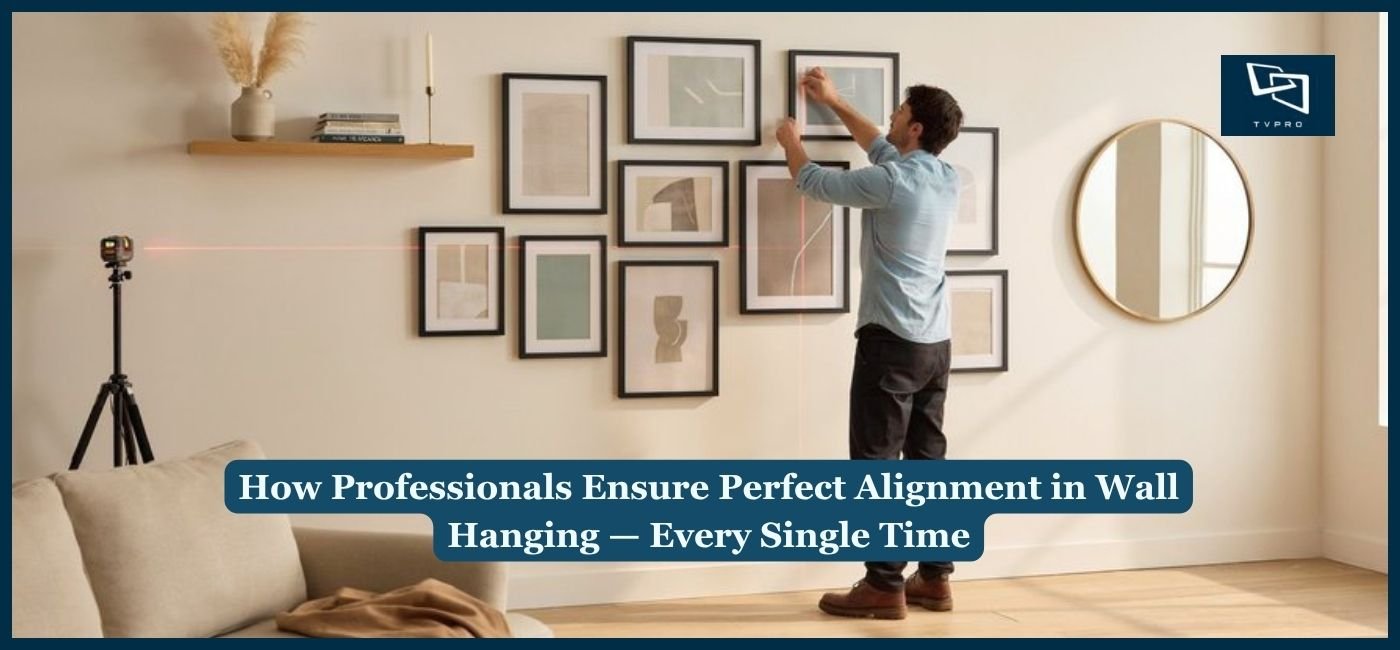
1. Laser Levels — The Precision Weapon Behind Every Perfect Wall Hanging Install
Professionals use high-grade laser levels that project:
- Perfectly straight horizontal lines
- Perfectly centred vertical lines
- Crosshair grids for multi-frame alignment
Why lasers matter?
- Zero human error
- Perfectly level every time
- Visible across the entire wall
- Allows frame sets and shelves to align perfectly
This is the #1 tool that separates amateurs from pros.
2. Measuring Twice, Installing Once — The Alignment Rule Pros Never Break
Measurements aren’t optional — they’re the foundation.
Professionals measure:
- Height from floor
- Distance from neighbouring walls
- Frame-to-frame spacing
- Symmetry around furniture
- Eye-level positioning
- Centre-of-room alignment
Common pro measurement standards:
- Eye level = 145–160 cm for frames
- TV centre = 106–112 cm from the floor
- Mirror height = relative to furniture height
- Shelf height = based on usability + balance
Every measurement is double — sometimes triple — checked.
3. Perfect Spacing Planning (Millimetre-Level Precision)
Spacing is what makes gallery walls and décor layouts look intentional.
Professionals plan:
✔ Vertical spacing
Usually 50–100 mm depending on frame size.
✔ Horizontal spacing
Typically 40–80 mm for visual balance.
✔ Grid and cluster layouts
Centred around:
- Sofa alignment
- Sideboard length
- TV position
- Room symmetry
Professionals never hang items without a spacing blueprint.
4. Using Painter’s Tape to Map the Design Before Drilling
Many pros use painter’s tape to create a “mock layout” before starting a wall hanging project.
Why it works?
- Shows the final arrangement visually
- Lets you adjust before drilling
- Helps centre items around furniture
- Ensures perfect gallery wall composition
It’s a foolproof way to preview the wall before commitment.
5. Wall Type Assessment Ensures Straightness And Stability
Alignment is pointless if the mounting points slip, sag, or crack.
Professionals identify wall type before drilling:
- Plasterboard → Must hit studs
- Metal studs → Require toggle bolts
- Brick → Needs masonry anchors
- Concrete → Requires SDS drilling
- Hebel → Needs Hebel-specific anchors
- Tiled walls → Slow drill with diamond bits
- Plaster-over-brick → Must penetrate plaster fully
- Cavity brick → Needs deep anchors
Correct anchor = long-term stability + no sagging = lasting alignment.
6. The Centre-Line Method: Ensuring Perfect Symmetry
Professionals draw or laser-project a centre line to maintain symmetry.
Used for:
✔ Mirrors
✔ Frames
✔ TV & soundbar alignment
✔ Floating cabinets
✔ Shelves
This ensures items don’t look “crooked” relative to:
- The TV
- Sofa
- Cabinet
- Window
- Room layout
Perfect alignment is about balance — not just straightness.
7. Professional Stud Finders Detect Hidden Structures
A crooked installation often happens when mounting points shift due to weak anchoring.
Professionals avoid this by detecting:
- Timber studs
- Metal studs
- Fire-rated studs
- Double layers of plasterboard
- Water pipes
- Electrical lines
Using deep-scanning stud finders and wall scanners ensures every mounting point is structurally correct, which prevents sagging over time.
8. Micro Adjustments — The Final Secret Weapon
Even after everything is mounted, pros do final “micro-adjustments” using:
- Mini alignment levels
- Fine-tuning brackets
- Adjustable hooks
- Rotational brackets for frames
- Precision tightening
These tiny adjustments — often just 1–3 mm — make the final alignment absolutely perfect.
This is where DIYers fail the most.
9. Using Anti-Tilt Pads & Hidden Mounting Hardware
Professionals use invisible hardware such as:
- Wall buffers
- Anti-tilt pads
- French cleats
- Flush mounts
- Adjustable picture hooks
- Floating shelf hidden brackets
These prevent:
- Crooked frames
- Forward tilting
- Side shifting
- Uneven weight distribution
Perfect alignment stays perfect because nothing moves.
10. Alignment Based on Interior Design Principles (Not Guesswork)
Pros don’t just hang things straight — they hang them beautifully.
They consider:
- Proportions
- Sightlines
- Balance
- Focal points
- Furniture height
- Lighting direction
- Room symmetry
This ensures your wall doesn’t just look “straight” —
It looks professionally styled.
11. Why Pros Never “Eyeball” Wall Hanging Placement — And You Shouldn’t Either
DIYers rely on visual guesswork.
Professionals rely on:
- Laser measurement
- Exact spacing rules
- Load distribution
- Wall mounting requirements
- Templates and layout previews
Perfect alignment isn’t a talent — it’s a technical process.
12. Final Quality Check — Stability + Straightness + Symmetry
Before calling it done, pros check:
✔ Alignment
Laser-verified straightness.
✔ Stability
Load-tested to ensure no sagging.
✔ Symmetry
Matches furniture and room layout.
✔ Safety
No movement, no tilt, no shifting.
A wall-hanging job isn’t finished until it’s flawless.
Conclusion: Perfect Alignment Isn’t Magic — It’s Method
Professionals achieve flawless alignment every single time because they use:
- The right tools
- The right techniques
- The right measurements
- The right anchors
- The right design principles
When you blend engineering with aesthetics, you get a result that’s not just straight — it’s stunning.
If you want polished and premium results, professional wall hanging services are the best way to guarantee perfection.